UPDATED SEPTEMBER 13, 2017
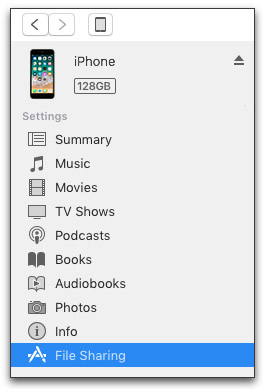
UPDATED UPDATE: File Sharing still exists in iTunes! Click on File Sharing when your device is connected to your Mac and you’ve selected your device. You can then drag-n-drop files into your favorite FTP or other app.
Learning how to create an ad-hoc network is still useful because you may want to allow several folks to upload images to your iPhone for transmitting. Anyone connected to the ad-hoc, even Windows and other users, will be able to get files on there.
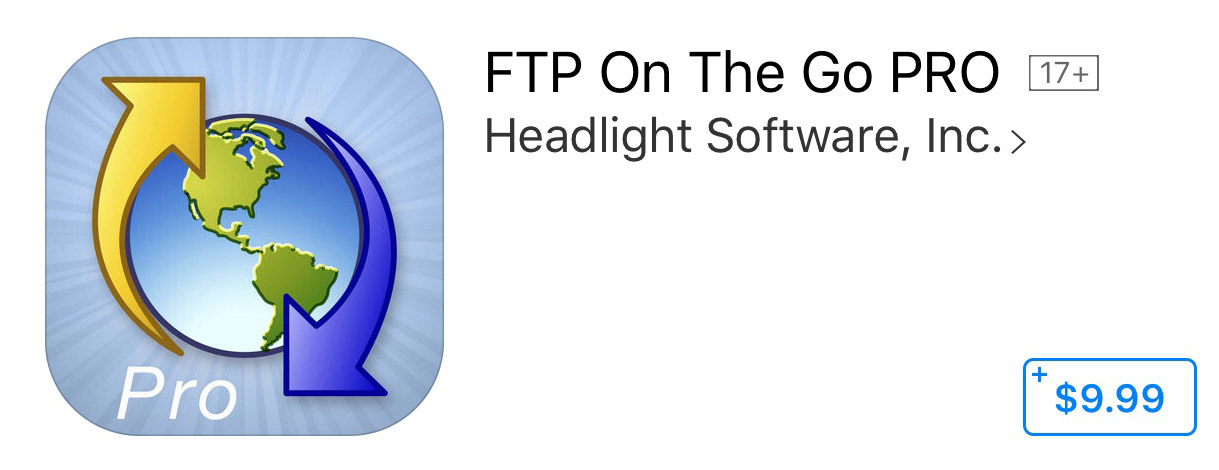
iOS app needed: FTP On The Go PRO
In order to perform File Sharing between your Mac and iOS device you will need to have both connected to the same WiFi network. There are several ways to do this:
- Connect both to the same WiFi hotspot (e.g. WiFi base station, mobile hotspot)
- Turn on Personal Hotspot on your iOS device and connect your computer to that (only works with iOS devices with cell carrier access and permission to do so)
- Create an ad-hock network (your computer acts as a local WiFi network).
How to create an ad-hoc network with your Mac. If you need to do it on Windows 10 then it’s a bit more involved as you can see here and here.
1. Create the ad-hoc network on your Mac
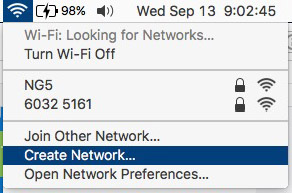
2. Give it a name and turn it on.

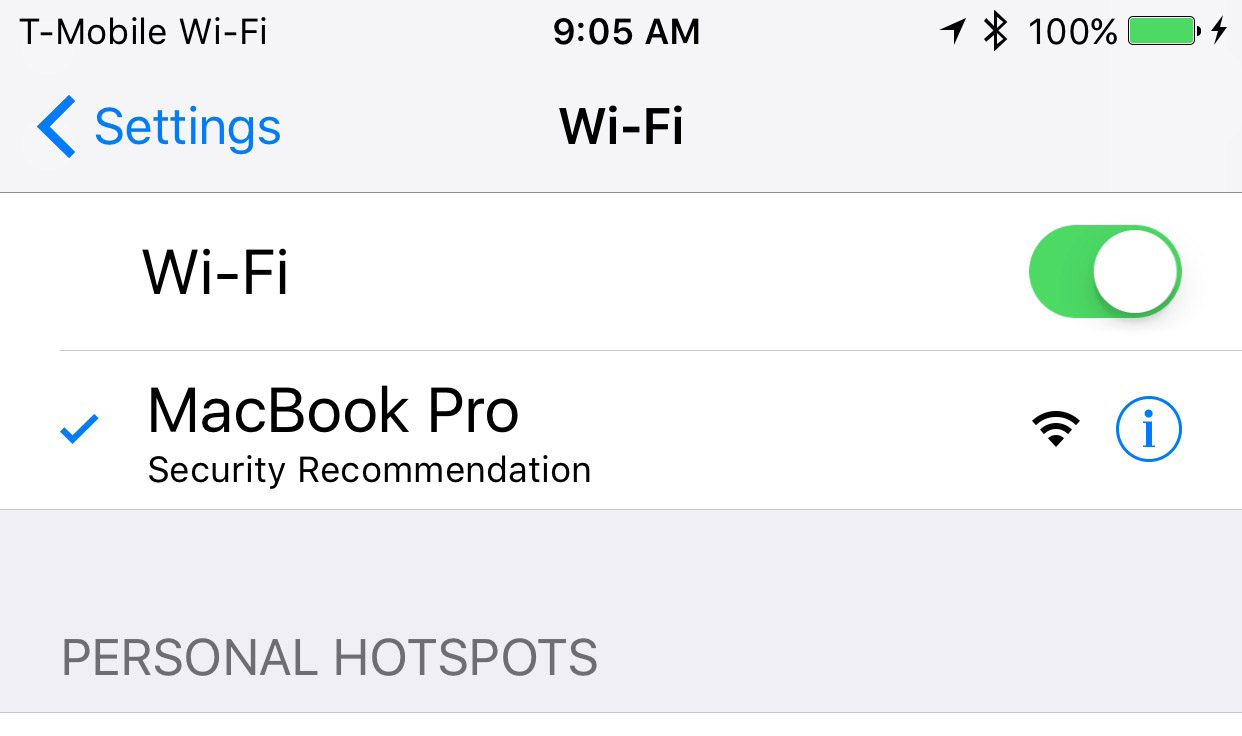
3. Connect your iOS device (or other device) to the ad-hoc network
4. Enable Web Server in FTP On The Go

5. Connect to the web server’s URL (don’t type spaces in it) and upload
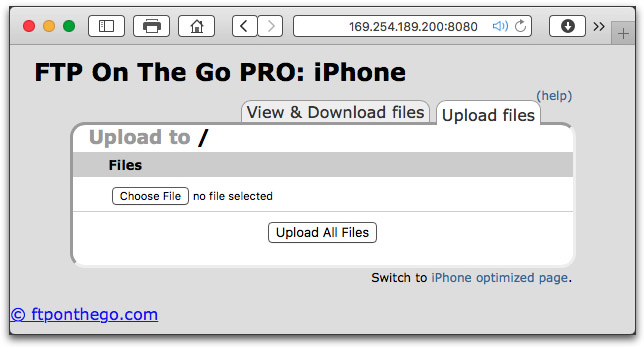
You will then be able to transfer your files to/from the File Sharing space of FTP On The Go so you can transmit them over the Internet. If there are other users on your network they too can access your iPhone’s web server to transfer files. This is great if you have a bunch of photographers who need to transmit images from even Android, Windows, ChromeOS or Linux computers via your iPhone as they only need a browser.
For more solutions to problems created by iTunes 12.7 visit here.
Hint: Many cellphone carriers limit how much Personal Hotspot you can use with your smartphone at LTE speeds (for my carrier T-Mobile it’s 10GB per month). Transmitting via an iOS app means you can skirt around this Personal Hotspot limitation.
—
OLD INFO BELOW
WARNING! AS OF SEPTEMBER 12, 2017 APPLE HAS REMOVED FILE SHARING FEATURES OUT OF ITUNES. ALSO THE DESKTOP WEBLINKS BELOW WILL NO LONGER WORK ONCE YOU’VE UPDATED YOUR ITUNES TO v12.7 OR LATER.
Use FTPOnTheGo or GoodReader both of which support FTP and SFTP for transmitting. I like FTPOnTheGo so instructions for that are below.
Step 1. With your iPhone’s USB cable you can just drag-n-drop the files you want to transmit onto your iPhone using iTunes.

If you have your iPhone USB cable
- Connect your iPhone to your Mac
- In iTunes click on the iPhone icon in the left sidebar then click on the Apps tab as seen above
- Scroll down to File Sharing, click on FTPOnTheGo (or GoodReader if you use that) in the Apps column on the left
- Drag and Drop your files into the FTPOnTheGo Documents window on the right (there’s also an Add button)
- Disconnect and transmit to your server
Step 2. Connect your iPhone to the internet and transmit

Make sure you’re connected to the internet via Settings, then launch FTP On The Go. Enter the FTP server data where you want to transmit your files.

Once connected to the FTP server touch ‘Saved Files’ icon, touch the file you want to transmit (it will put a checkmark next to it), touch the upload icon (2nd from right with the up arrow).
Your files will now be transmitted via the iPhone to the FTP server.
That’s it. It’s very easy once you’ve done it a couple of times.
Hints/Tips:
- FTP On The Go works with both FTP and SFTP servers.
- You can transmit from the iPhone via WiFi, 4G Lte, 3G network or *gasp* EDGE.
- Don’t forget to clean-up those files before your next transmit session as they take up space in the iPhone memory.
- You can transmit via iPod Touch or non-cellular iPad but only via WiFi. This is good in case you don’t want to lug your laptop to where the WiFi hotspot is (like in a sketchy bar or crowded place).
- Forgot your USB cable? Create an Ad Hoc WiFi network with your Mac. Creating an Ad Hoc network is also good if you need to sync data to your computer and you don’t have a USB cable or network available (ie. Splash ID, Splash Shopper, iProRecorder)
If you have any questions, suggestions, corrections, etc just email me. baron@mediabaron.com